Have you ever noticed that some oil paintings still look fresh years later, while others are covered in cracks, yellowing or flaking paint? In 80% of cases the problem starts before the first brushstroke — with a poorly prepared canvas. I’m Andrew Pugach, a Ukrainian artist who has spent more than ten years working mostly in multi-layered glazing techniques, and I’ve seen hundreds of works by beginners and professionals alike. Almost always, the difference between “just a painting” and “a painting that will last for decades” comes down to how well the support was prepared.
In this article I’ll give you a complete, practical guide — from choosing materials to the final check. You’ll learn how to stretch a canvas, how to prime it properly, which mistakes to avoid and why cutting corners at this stage almost always backfires. It’s useful both for those picking up oils for the first time and for experienced artists who want their work to last longer.
Why canvas preparation is the foundation of success
Oil paint is pigment ground in oil (usually linseed oil). It dries slowly and forms a film that is flexible but sensitive to moisture and mechanical stress. If the canvas is poorly stretched, the ground is uneven or the sizing is insufficient, the paint will eventually crack, yellow or flake off.
Personally, I prefer multi-layered painting with glazes. That means a painting “lives” on my easel for weeks or even months. So the support has to be perfect: stable, evenly absorbent and durable. A properly prepared canvas lets the paint go on smoothly, keep its brilliance and not “pull” oil out of the upper layers.
Choosing materials: what you really need
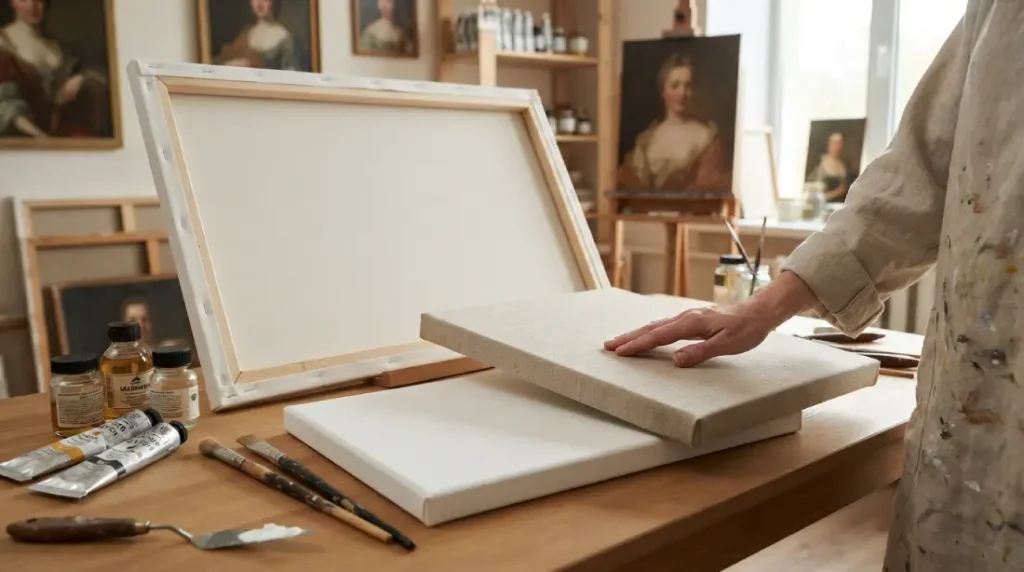
Canvas
The best choice for oils is cotton or linen canvas with a medium or fine weave.
- Cotton is cheaper, holds the ground well and suits most work.
- Linen is stronger, less prone to stretching over time, and ideal for large formats and museum-quality pieces.
Avoid synthetic fabrics for serious work — they “breathe” less and hold traditional grounds poorly. Leave a margin of 5–7 cm on each side for stretching.
Stretcher frame
Wooden, preferably hardwood or good-quality pine, with keys (wedges) for re-tensioning later. The corner joints must be solid. Ready-made stretchers are convenient, but for non-standard sizes it’s better to build your own or have one made to order.
Ground (primer)
The best options for oils are:
- acrylic gesso (fast, versatile, almost odourless);
- traditional glue or emulsion ground (a more “classical” effect);
- ready-primed canvases from trusted manufacturers (they save time, but you have less control over quality).
I often use a good acrylic gesso in 2–3 coats — it gives an even surface and isolates the fabric well.
You’ll also need: masking tape, a palette knife or a wide flat brush, fine-grit sandpaper (if needed), PVA glue or special canvas size (if you’re making a glue ground).
Step-by-step: stretching the canvas
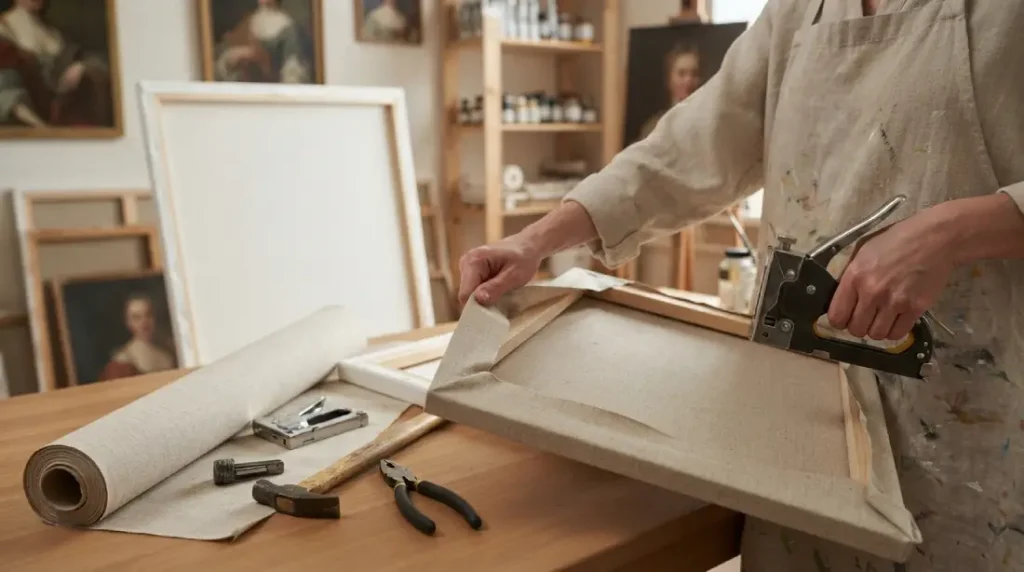
- Lay the stretcher on a flat surface. Make sure it’s perfectly square (measure the diagonals — they should be equal).
- Place the canvas face down and centre the stretcher on it.
- Start stretching from the middle of each side. Staple or tack the canvas while pulling it slightly. Work from the centre towards the corners, alternating opposite sides.
- Fold the corners neatly (like wrapping a present) and secure them.
- Check that the tension is even — the surface should be taut like a drum, with no ripples, but not over-stretched (otherwise it may warp after priming).
A tip from experience: work in a dry room with normal humidity. A canvas that is too damp will “shrink” as it dries, while one that is too dry can tear.
Priming: the secret to an even, long-lasting surface
The ground does several important jobs: it isolates the fibres from the oil (oil destroys canvas over time), creates the right texture and ensures good paint adhesion.
Option 1. Acrylic gesso (recommended for beginners)
- Stir the gesso until smooth.
- Apply the first coat with a wide brush or roller in one direction. Let it dry for 1–3 hours.
- Lightly sand with fine sandpaper if there are any bumps.
- Apply the second (and, if needed, a third) coat perpendicular to the previous one.
- Let it dry completely for 24 hours.
Option 2. Classic glue ground
Recipe (approximate): PVA glue or gelatine + chalk/gypsum + water + a little oil or honey for flexibility. It’s applied in several thin coats with light sanding in between. It takes more work, but gives the surface a special “warmth” that many of us who paint in a realistic manner love.
Important: don’t make the ground too thick or glossy. For oils, a matte or semi-matte surface with medium absorbency is best.
After priming, the canvas should look evenly white (or toned, if you’re making a coloured ground — a fascinating technique of its own for landscapes and portraits).
Common mistakes and how to avoid them
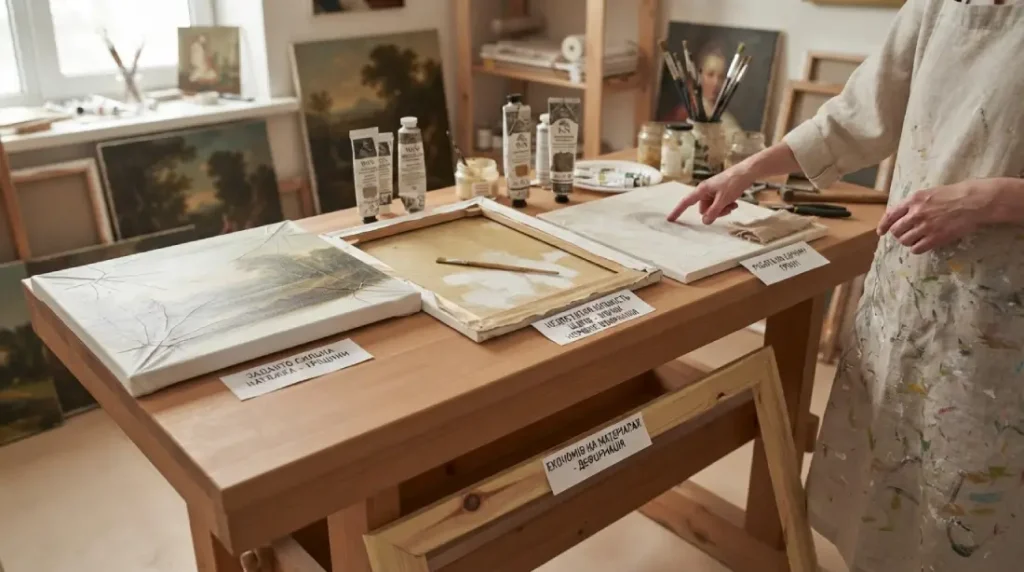
- Over-tight stretching → cracks once the paint dries.
- Too few coats of ground → oil soaks through, and the canvas yellows and deteriorates.
- Unevenly applied ground → blotches and uneven paint absorption.
- Painting on a ground that isn’t dry → poor adhesion and problems later on.
- Skimping on canvas and stretcher quality → warping within a year or two.
My advice is always the same: better to spend an extra hour on preparation than to spend years regretting the cracks in a favourite painting.
More secrets from practice
If you’re planning multi-layered glazing (my favourite technique), make the ground slightly more absorbent — that way the lower layers “settle” better. For alla prima you can use a less absorbent surface.
Once the ground is completely dry, you can easily tone the canvas with a thin layer of diluted oil paint (an imprimatura) — it speeds up the work and sets the overall colour key.
Store prepared canvases in a dry place, upright or flat with spacers between them, so the surface doesn’t get damaged.
Conclusion:
Preparing a canvas properly isn’t a boring chore — it’s the first creative step, and it directly affects the result and the lifespan of your painting. Do it well once, and your painting will reward you with decades of beauty.
Try this approach on your next piece and tell me in the comments how it went. What difficulties did you run into? Which ground do you use?
If you’d like to see finished oil paintings created on canvases prepared exactly this way, visit the shop on this site. Or sign up for a workshop — there we don’t just paint, we go through every stage of preparation in practice. You can also commission a custom painting — I’ll prepare the canvas specifically for your idea.
I wish you creative success and strong, long-lasting paintings!
FAQ
1. What is the best primer for a canvas for oil paint? For most artists the most convenient and reliable option is a good acrylic gesso in 2–3 coats. It dries quickly, isolates well and gives an even surface.
2. Can you paint with oils on an unprimed canvas? It isn’t recommended. Without a ground, the oil soaks into the fibres, the canvas deteriorates over time, and the paint loses its brilliance and may flake.
3. How many coats of primer do you need? Usually 2–3 thin coats, letting each dry completely. For large formats or heavily textured canvas you can add one more.
4. Which canvas is better — cotton or linen? Cotton offers the best value for most work. Linen is stronger and more durable, especially for large and important paintings.
5. How can you tell if a canvas is stretched well? The surface should be evenly springy, like a drum, with no ripples or sagging. A light tap with a finger gives a clean sound.
6. Do you need to sand the primer? Yes, lightly, with fine sandpaper between coats if there are bumps. This gives a more professional, controlled surface.
7. How long should a primed canvas dry before you start painting? At least 24 hours after the last coat of acrylic gesso. It’s better to wait a full 48 hours in a dry room.
8. Can you tone the canvas before painting? Yes, an imprimatura (a thin coloured layer) is an excellent practice. It speeds up the work and helps keep the overall colour scheme of the painting consistent.


